


Sponsored Post: Strokes of Serendipity

Hey there everyone! This is Kenzie from Strokes of Serendipity just stopping by for a quick DIY tutorial. Today, I'm going to show how to personalize your porcelain - a project that will get you quick gifts, something special for yourself and can even do with kids! It's super easy and fun so let's get started.
You will need:
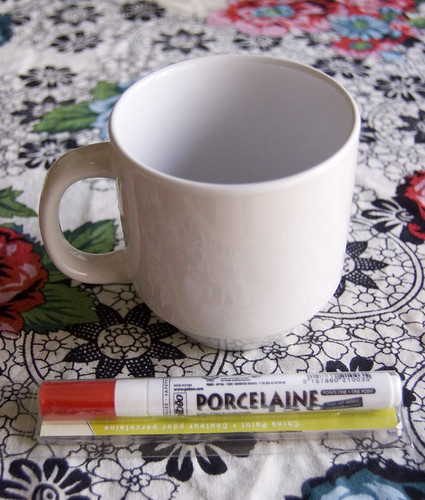
- a clean ceramic mug {you can also use plates or bowls. I bought my mug at Wal-mart.}
- Porcelain paint {I used a paint pen, but you can use the little bottles also with a paintbrush. I bought it at Michael's Craft Store.}
- a baking sheet
- an oven
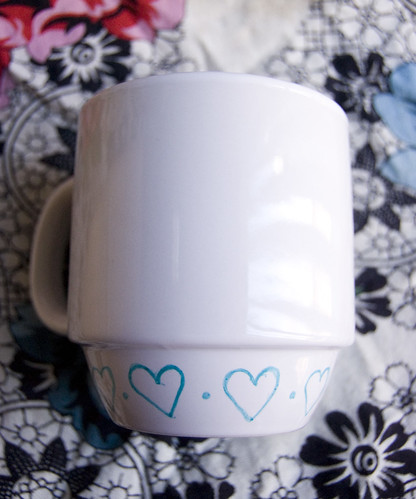
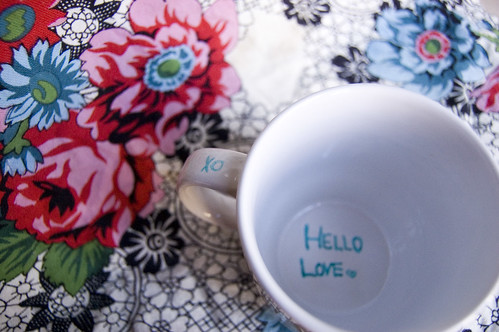
Step 1: Make sure you have cleaned and dried your mug. Shake your paint up to make sure it's all mixed and draw your design on your mug. Note that: the color will be the same after baking the mug so you may have to go over your design a few times to get a darker color. Also, if you want to make more solid colors or are doing this project with kids, I would buy the paint to use with a paintbrush so you don't get the line-y quality of the pen.
Step 2: Allow the mug to dry for 24 hours {or more}.
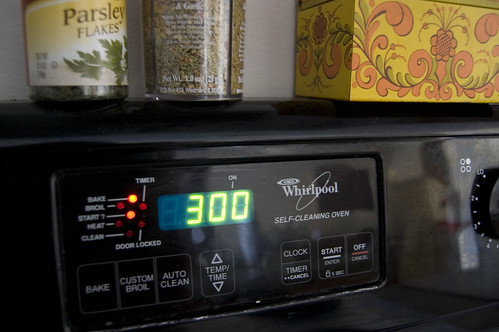
Step 3: Bake the mug at 300 degrees Fahrenheit (150 C) for 35 minutes. {Check your instructions on your paint bottle to be sure. This is what it said for my paint, but it may be different for yours.}
Step 4: Clean the mug again before using {it is dishwasher safe} and enjoy your new mug or give it away to a friend!
Thanks for joining me in making this super quick and easy DIY! I hope you all enjoyed it!
♥♥ Kenzie
Kenzie is one of my favorite bloggers. I'm so excited to be able to showcase some of my regular reads this month. Be sure to check her out at Strokes of Serendipity
1 notes:
Ah! I just got your comment and that's soooo exciting! So glad I got to be one of your sponsors this month! Thanks so much hunny!
Post a Comment