


Sponsored Post: The Inbetween is Mine
I know it's always fun to see someone's take on a popular DIY, so today San is sharing a quick and easy idea for a DIY greeting card. I'll let her introduce herself since she does such a great job :)!
Hi, my name is San and I blog over at The In Between is Mine. I am a German Expat, living in Northern CA with my husband. I am a geologist by day and a crafter, photographer, knitter, crocheter and stitcher by night.
Today I am going to share a quick tutorial on how to make a cute, handmade greeting card in 10 minutes.
You need:
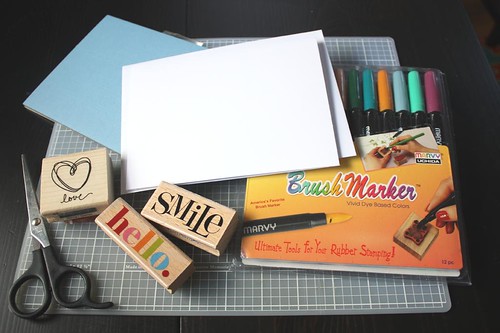
- scissors and/or single-blade cutting tool
- glue stick
- pencil and ruler
- double-sided, pre-cut mounting tape (or if you want a cheaper alternative, get a sheet of white fun foam with a sticky back, which you can cut into any shape you want/need).
- card stock
- blank card & envelope
- stamps
- ink pad or brush markers for stamping
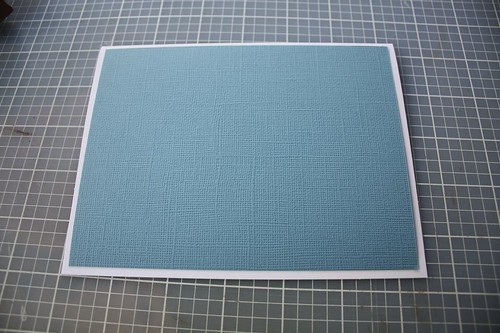
Step 1) Cut the card stock so it fits the blank card and leaves a little bit of a white frame around it. Glue it to the front of the card.
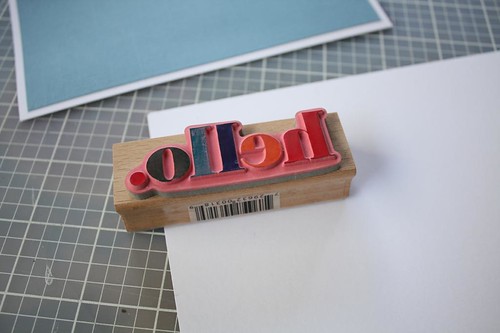
Step 2) On a white piece of card stock, stamp your image. I personally prefer the brush markers for stamping, so you can achieve a colorful, unique look.
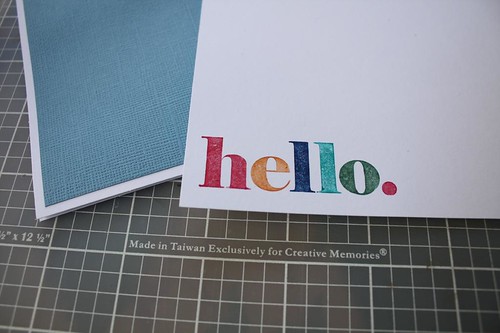
Step 3) Cut out the stamped image (you can use a simple square, oval shape, or anything else you like) and attach a custom piece of mounting tape on its back.
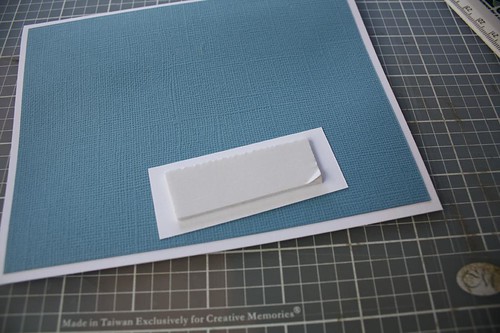
Step 4) Then attach the cut-out to the front of your card. Voilà.
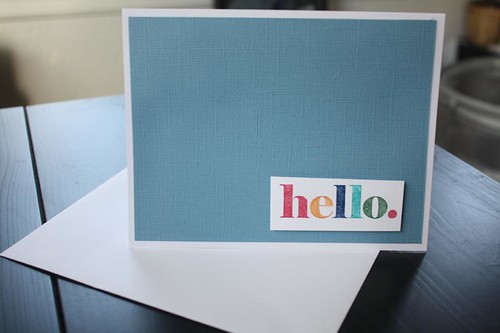
This is very simple, but elegant example for a personalized greeting card. There is no limit to the imagination to what you can do with this method. I especially love how the mounting tape adds some "depth" to the card's front.
I hope you enjoyed this little DIY for today!
2 notes:
So cute! Lovely idea! Love you both!!! Happy Tuesday!!
What a cute idea! I love this! Thank you :)
Post a Comment